Flooring and More!
- JG
- Sep 11, 2022
- 3 min read
Updated: Sep 20, 2022

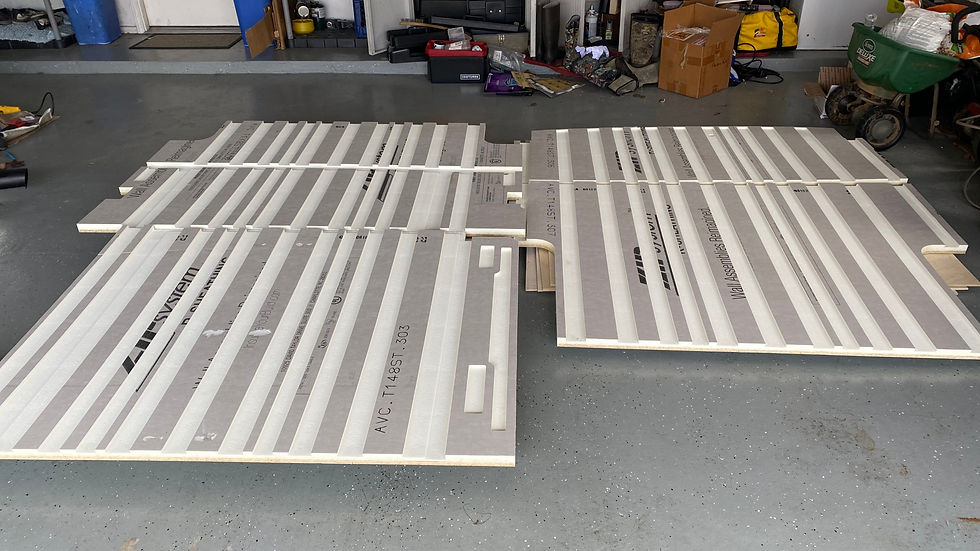
Some van builders will install their sub-floor, piece by piece, cutting their own stryrofoam strips to fill the floor channels and laying their own plywood and moisture barrier. We opted for a (hopefully) faster and easier drop-in kit designed and sold by AVC Rig ( AVC RIG Home – https://www.avcrig.com/store), which included the insulated floor, step and trim system cut to drop in and fit our van.

First off, the guys at AVC Rig are some of the nicest and helpful guys you can talk too and it's great to have someone making aftermarket kits for the Transit as opposed to all the love shown to the Sprinter. Specific shout out to Spencer at AVC Rig who spent significant time talking through our build and even took a video of a build in progress in their shop to help with some questions we had as they didn't have all their content out yet on YouTube. We hope to be able to stop in a say hello someday!

The insulated floor system is cut from insulated sheathing panels (ZIP System R Sheathing). These panels are R6 polyisocyanurate insulation, bonded to OSB and bonded to a water-resistant air barrier. As I said above, you can use these panels to make your own system instead of buying from AVC Rig or some other company, but it really is nice to have everything cut out, including the under-insulation portion.
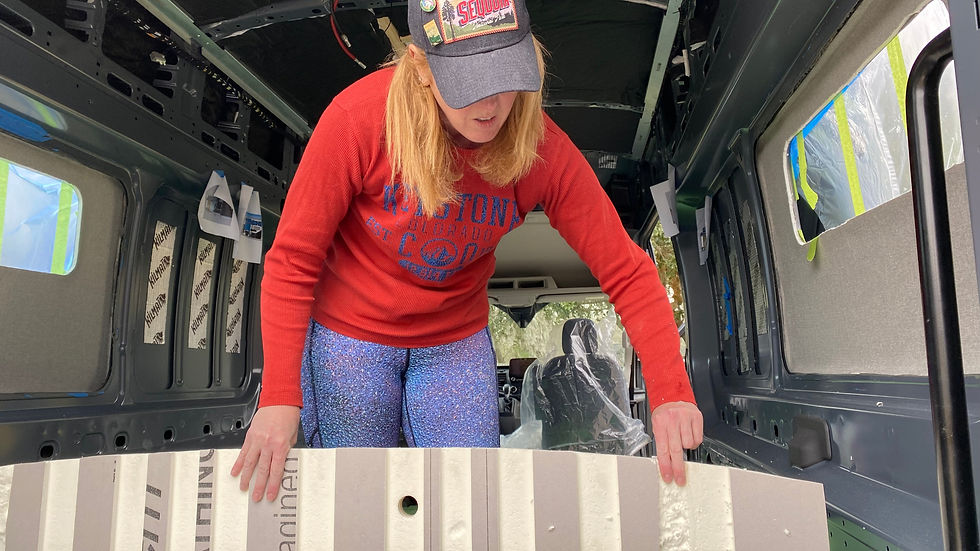
We cleaned the floor thoroughly. We then dry fit the panels from front to back and then discovered a problem. We couldn't get the rear panel to fit at first. Ryan thought if we shifted the floor panels forward that that would resolve the issue. We had to cut ~1/2" in the notches around the pillars locations to allow the floor to slide forward and allow the rear section to lay flat.

We then discovered that the metal trim and step system would not fit correctly. We finally determined that it was the rear panel that was not fitting correctly and removed about an 1" on the back panel. We also had to slightly trim the foam as it appears that Ford modified one of the ribs in the back of the extended length section of the van. We communicated the change in the ribbing and dimensions back to AVC Rig for modification (we ordered our flooring system last November).

Once we got everything to fit correctly INCLUDING the trim pieces, we bonded the floor to van using many, many cans of 3M90 spray adhesive. That seemed to work well except the very front right corner of the floor pulled up slightly. Ryan used a polyurethane structural adhesive (similar to liquid nails) to bridge the gap so the floor would not have flex. Maybe a thicker adhesive like liquid nails is something to consider instead of 3M90 although 3M90 would certainly be easier to cleanup if you ever needed to pull up the floor (not something we ever plan to do I hope!).
We also sealed the edges of the OSB to prevent water from penetrating the OSB edge ( not a fan of OSB when wet) and also made sure to seal the trim pieces after we installed the vinyl floor and trim pieces. We did not tape or use a leveling compound on the seams and despite the seams being very uniform, we do see the seam slightly through the Lonseal vinyl flooring we used. If I did it again, I would tape or level the seam. But in reality, most of our flooring will be covered up eventually when we have cabinets, bed system and benchseat installed.
Overall, this wasn't too lengthy of a project, and as we have been learning, takes slightly longer than anticipated since everything we do here is based on zero experience. Quite the learning curve! But we have very happy with our floor!


Comments